Lami WordPress Documentation
Thank you for purchasing our template. If you have any questions regarding our product feel free to visit our support forum
Getting Started
Unzip files from archive and you will following folders and files.
- /demo-import - folder with data import files
- lami-child.zip - archive with child theme
- lami-theme.zip - archive with installable WordPress theme
Theme Installation Video Tutorial
Recommended Plugins
After theme installation you'll see the note with recommended plugins that you should install if you want to get full functionality of a theme. Install One Click Demo Import plugin to get the same look as demo
Demo Import
Go to Appearance -> Import Demo Data. Click Import Demo Data Button and wait until the process is finished. For the manual import Demo files located in demo-import folder
Child Theme
We recommend you to use child theme. You can customize it how you want, add css styles, functions etc. This way, when you get theme update, all your changes will be in place in child theme. Simply install and activate it after main theme.
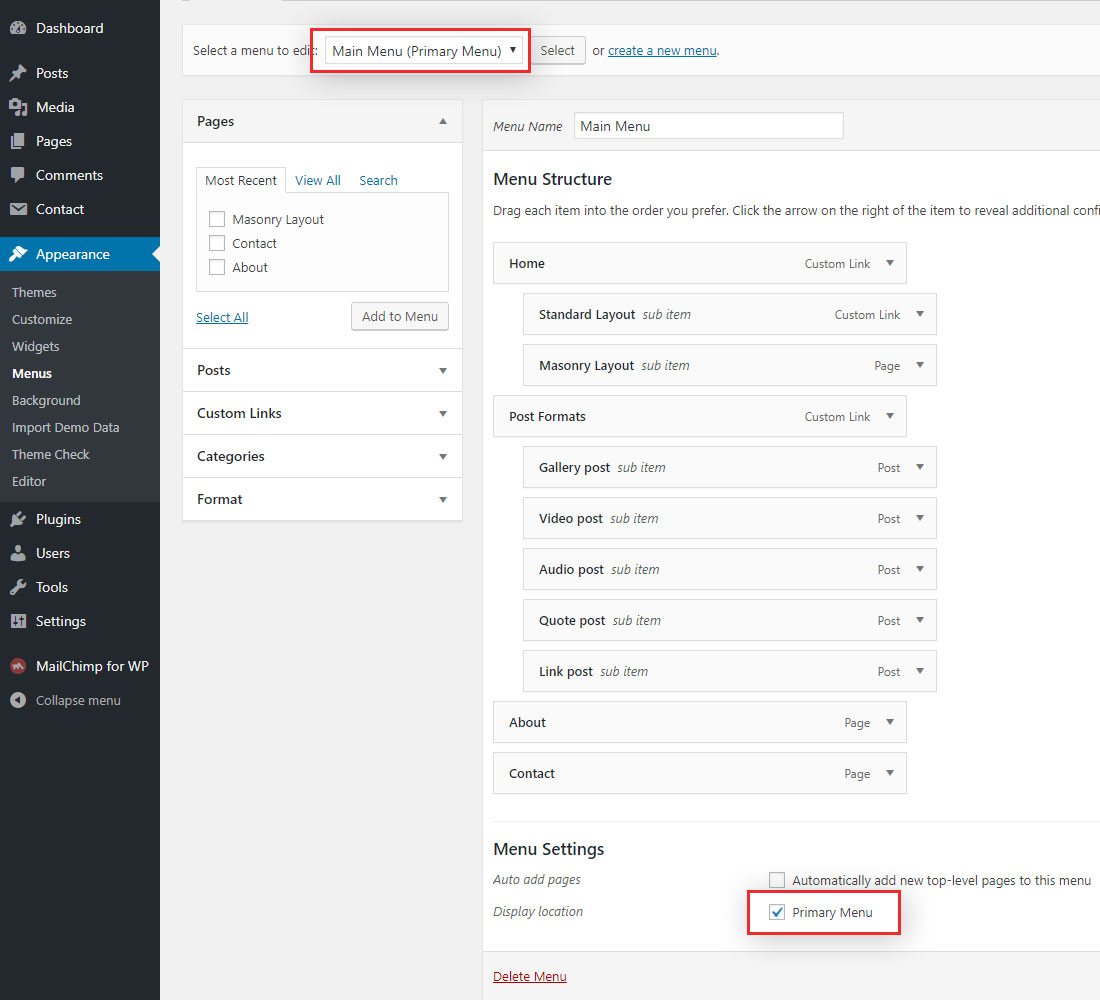
Theme Menu
Go to Appearance -> Menus. Make sure that Main Menu is set to Primary Menu
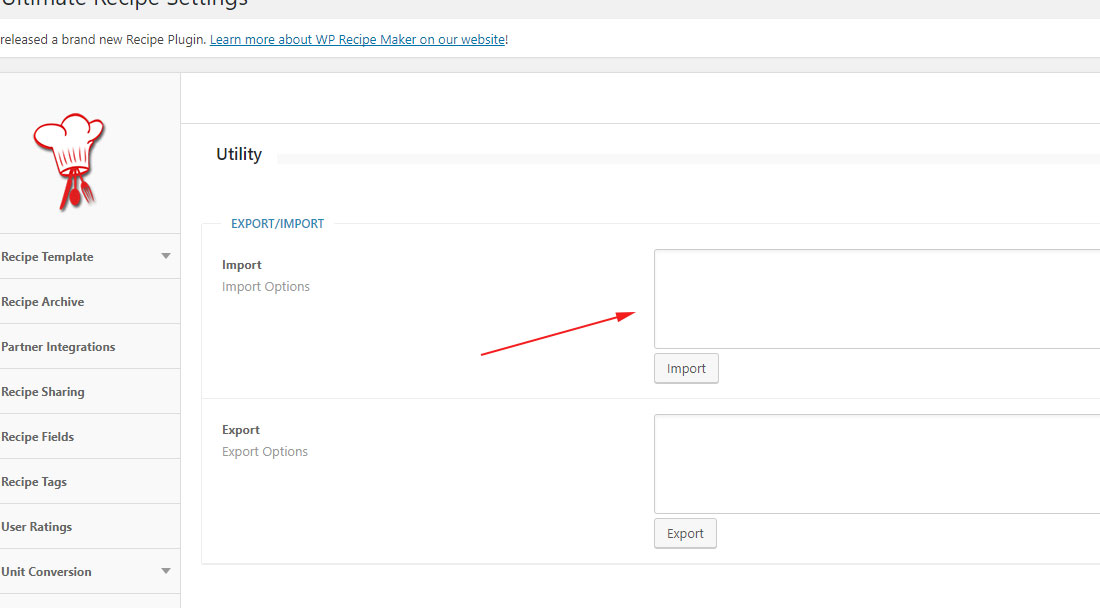
Recipes
First, make sure that you have WP Ultimate Recipe plugin installed. After this you need to import plugin settings from file WP_Ultimate_recipe_data_import.txt. Copy all the settings from txt file and paste here - Recipe -> Settings -> Utility -> Import Press import button.
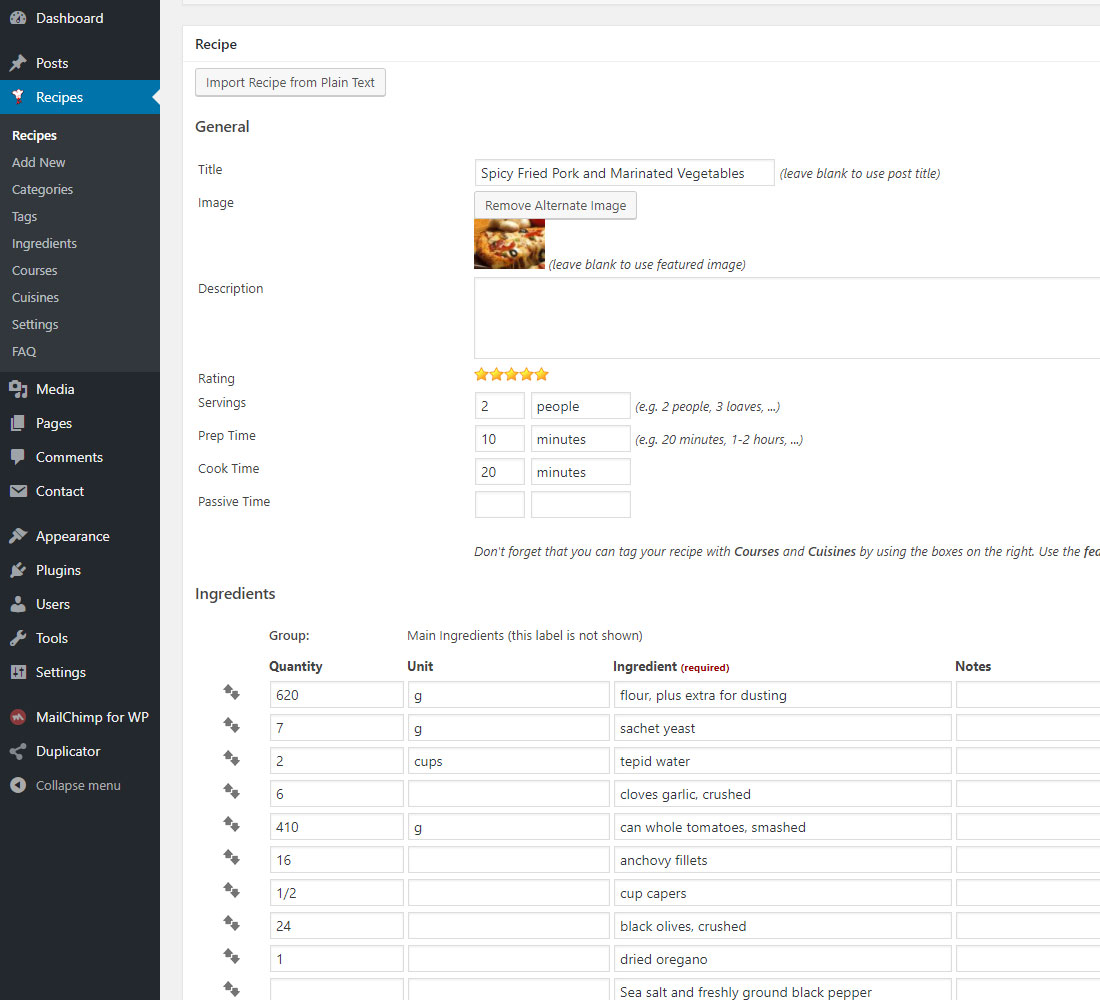
Then go Recipes -> Add new and add your new recipe post content. Scroll down and you'll find a recipe box, where you can upload you picture, set ingredients etc. Also you can paste recipe anywhere on the page or post using a [recipe] shortcode.
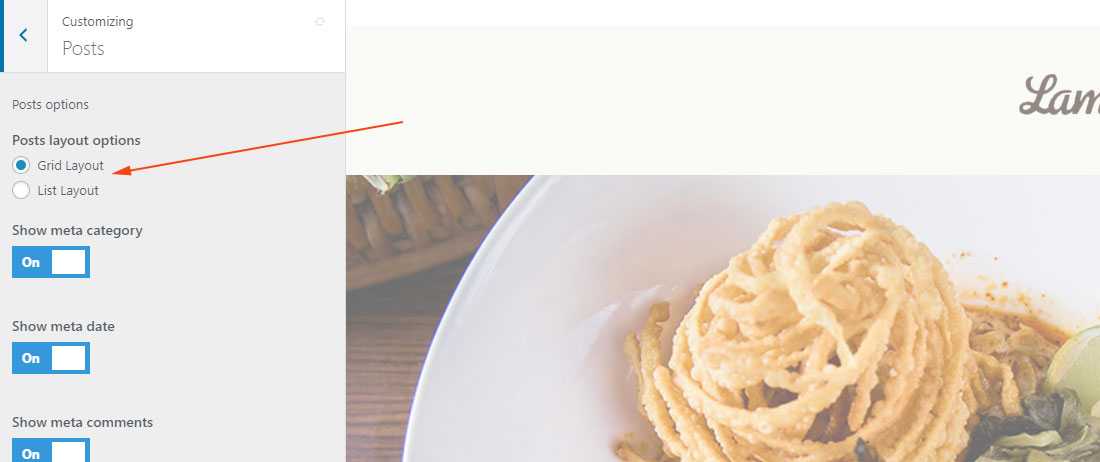
List Layout
To switch list layout go to Customizer -> Posts
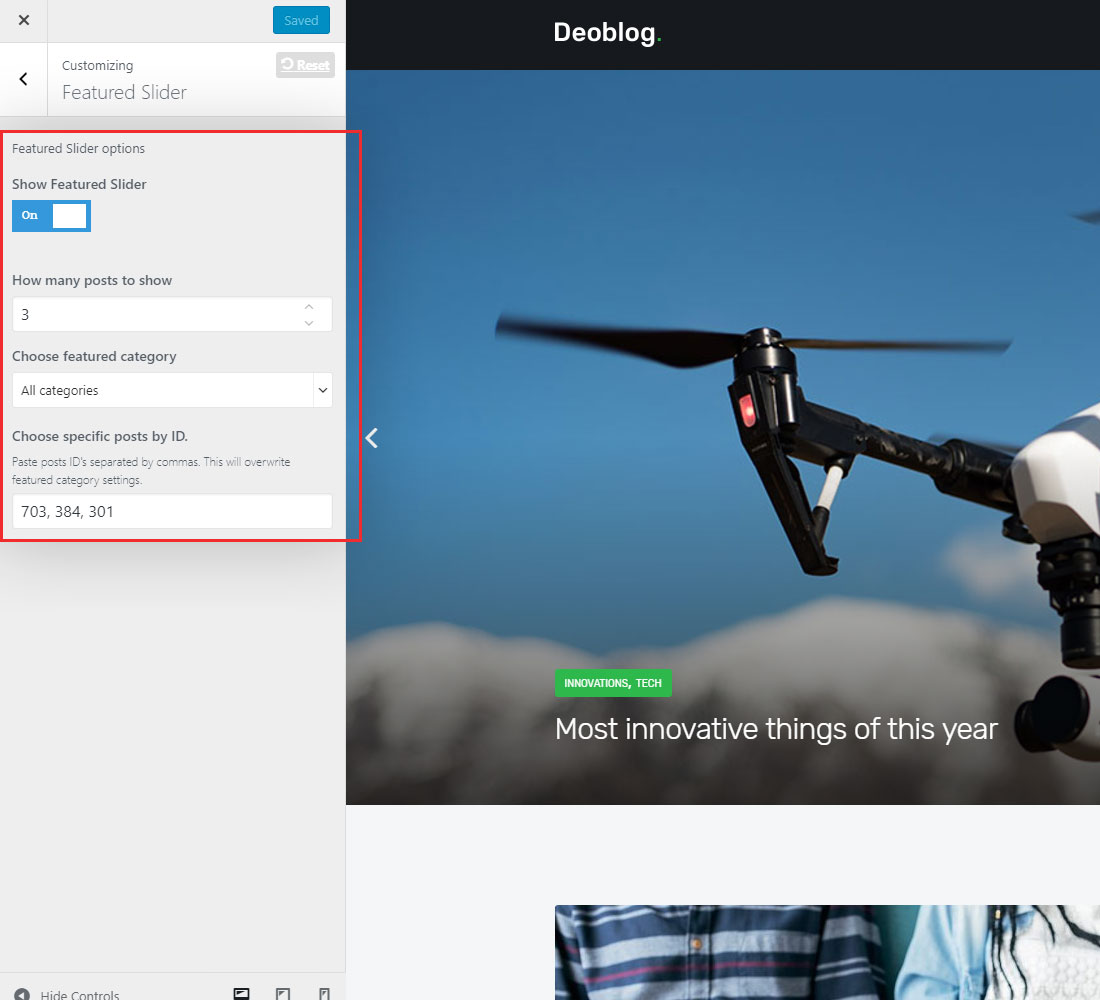
Featured Slider
All the settings for featured slider available in theme customizer. You can: turn on/off the featured slider, choose the category or choose specific posts, using posts ID. Post ID can be found in the URL when you editing the post. Example - http://demo.deothemes.com/deoblog/wp-admin/post.php?post=93&action=edit. The ID of this post is 93
Logo upload
You can upload your logo using customizer
Changing Colors
You can change theme colors using customizer

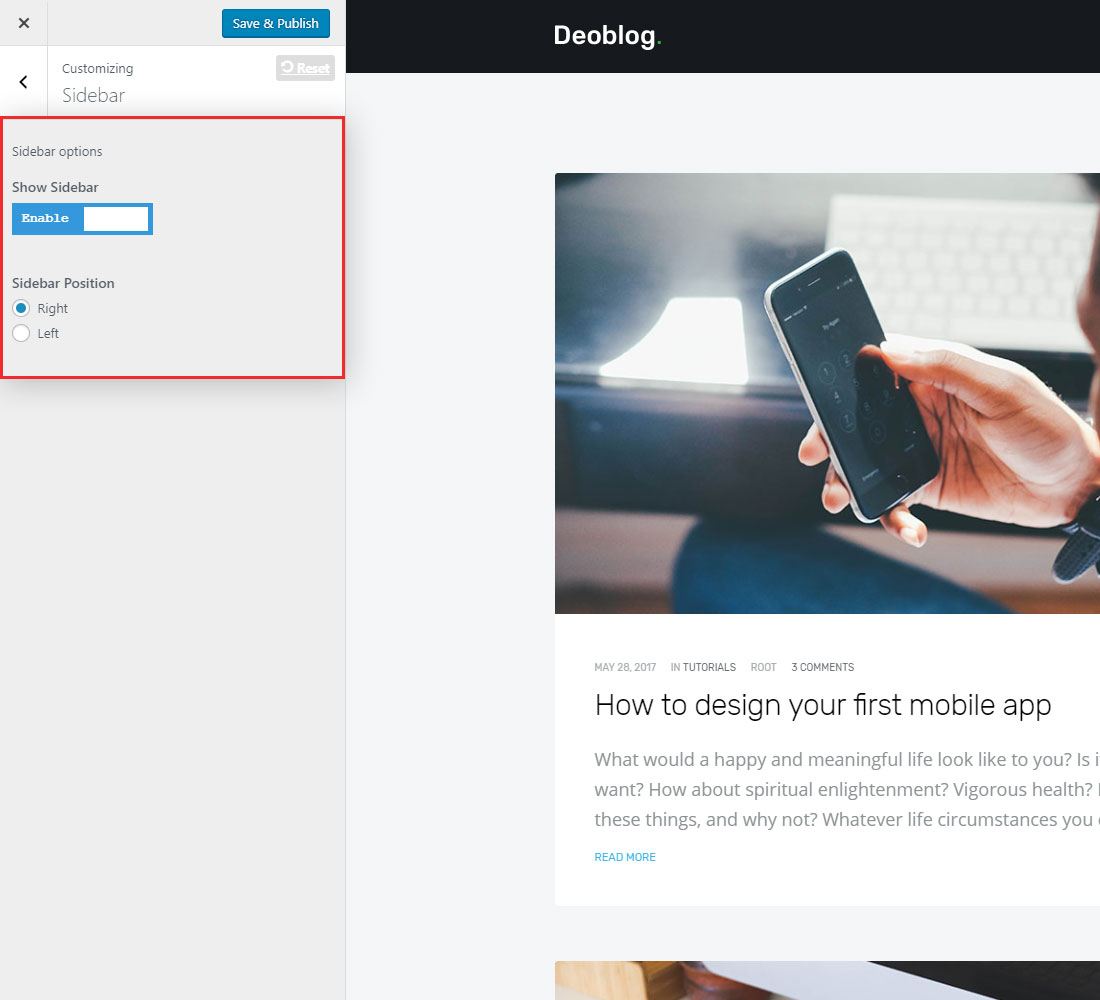
Sidebar
Turn sidebar on/off and change sidebar position using customizer
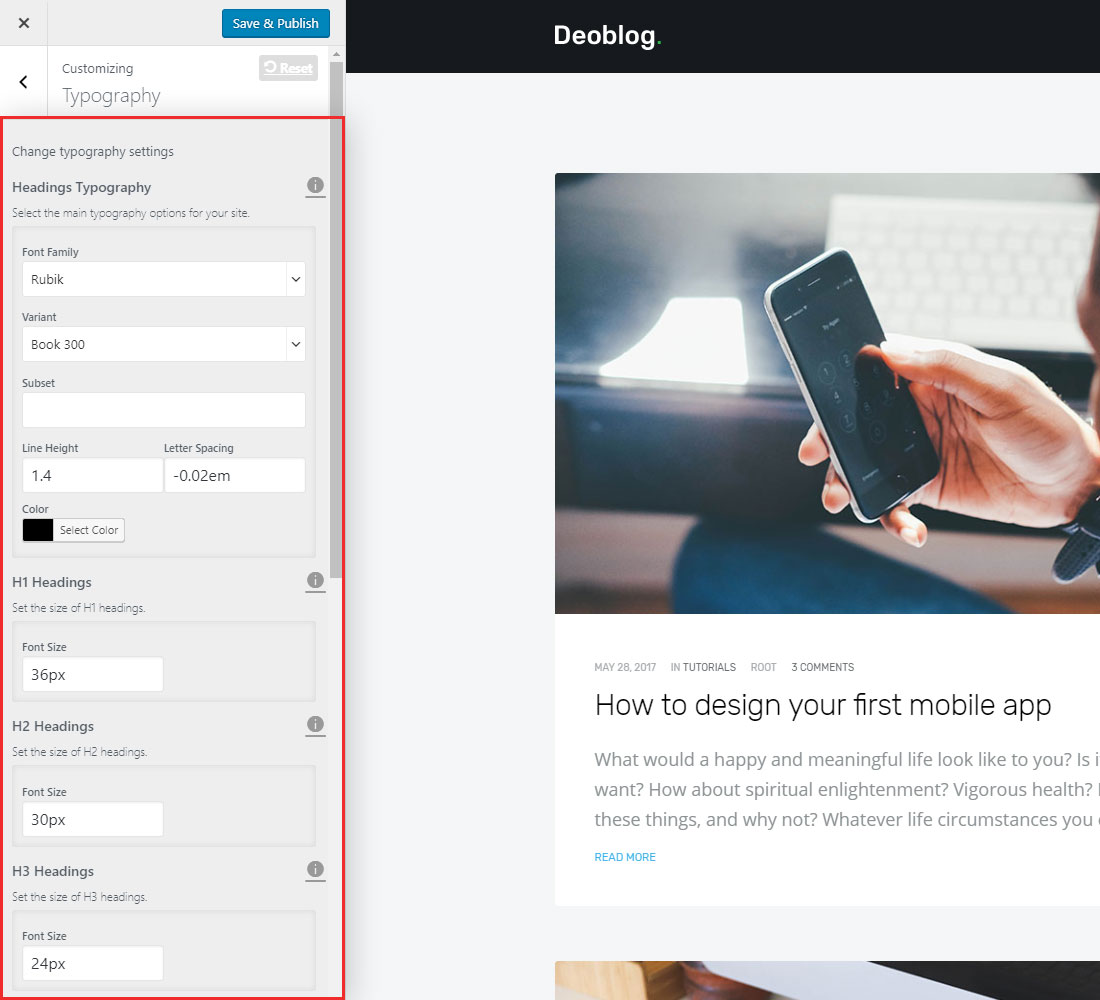
Typography
Customize theme typography using customizer
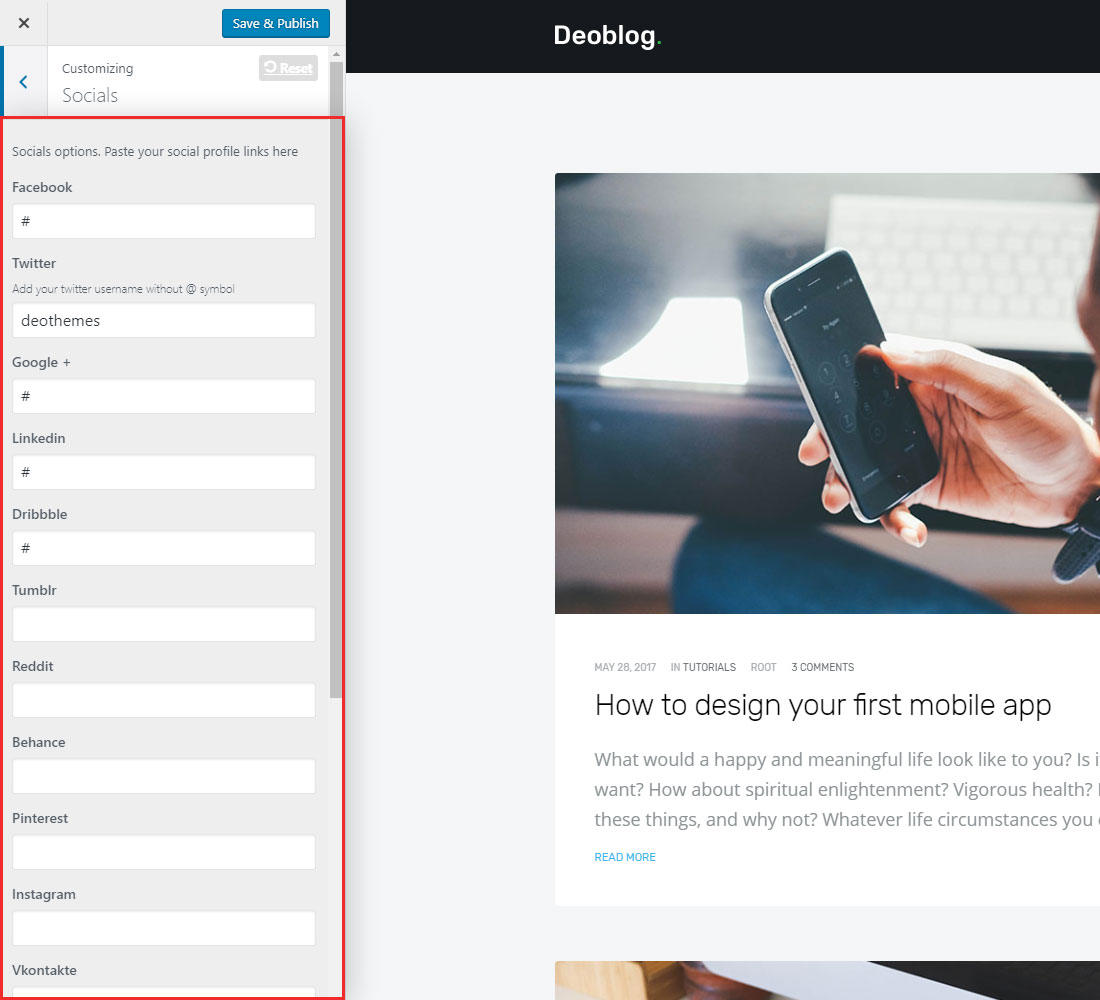
Social Profiles
Add you social profiles links or completely remove links from inputs if you don't want to use any social profiles.
Navigation
Make navbar sticky using customizer.

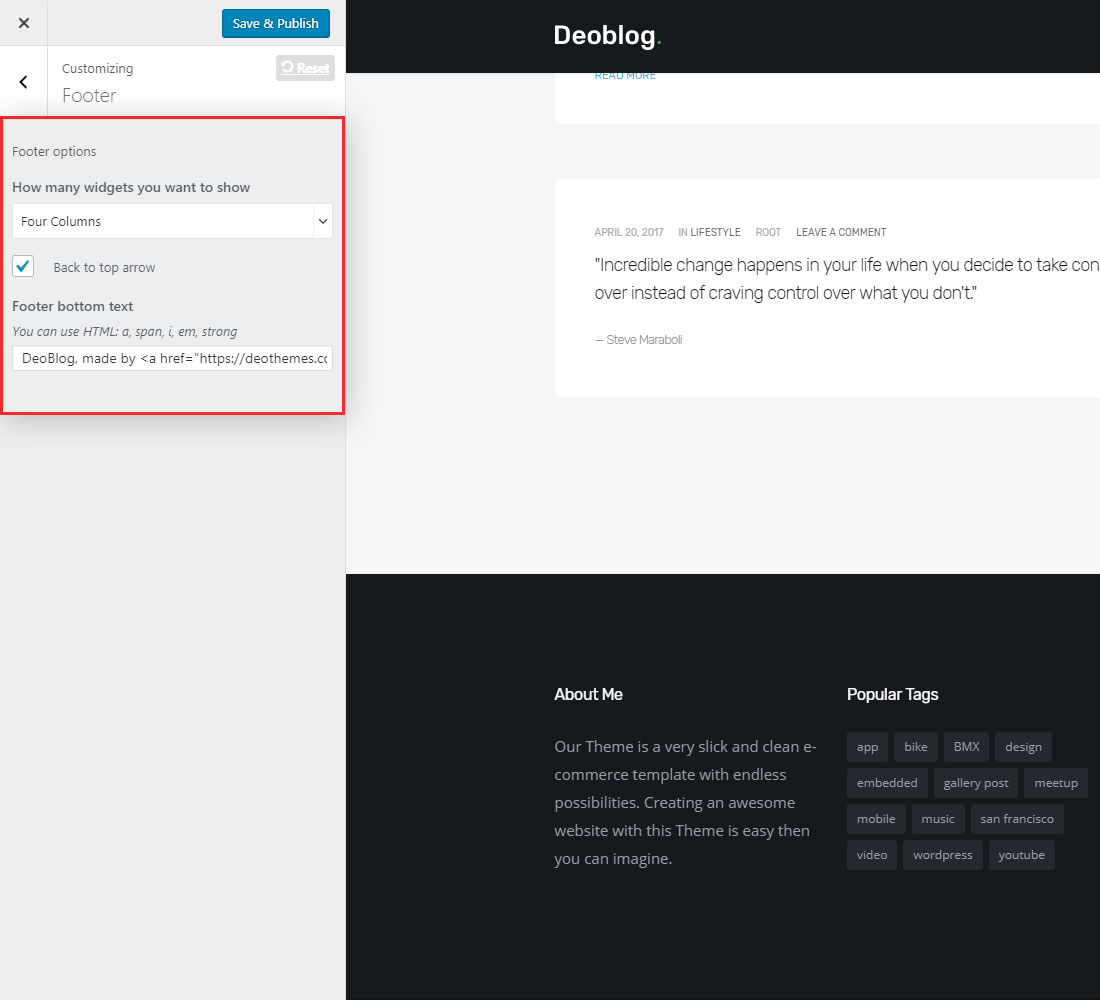
Footer
Choose how many widgets you need to show in footer. Disable back to top arrow. Edit copyright text.
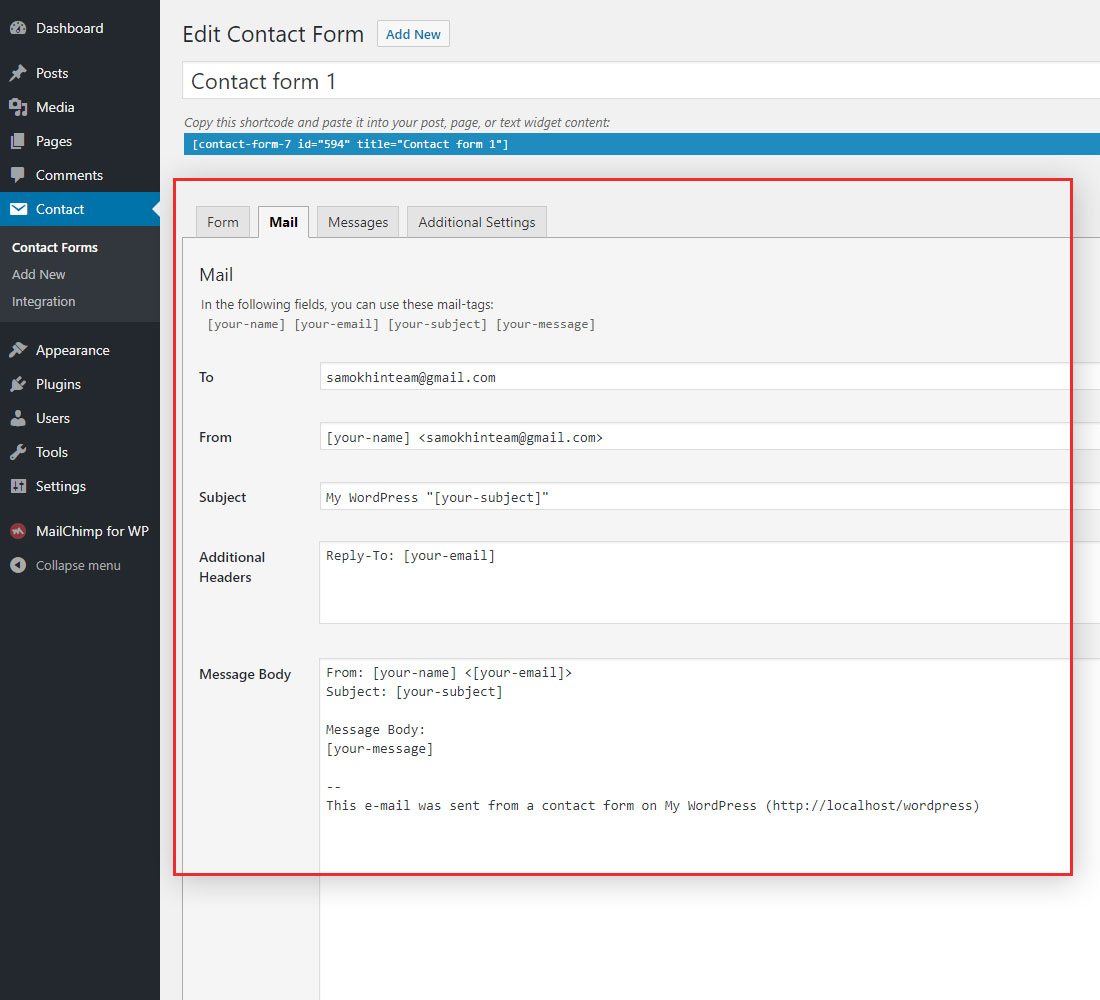
Contact Form
First, make sure that you have installed Contact Form 7 plugin. After this go to Contact -> Contact Forms and select Contact form 1. If you didn't use demo import, here is the code for the form
      <div class="row">
        <div class="col-md-6 contact-name">
          <label for="name">Name:</label>
          [text* your-name]
        </div>
        <div class="col-md-6 contact-email">
          <label for="email">Email:</label>
          [email* your-email]
        </div>
      </div>
      <div>
      <label>Subject:</label>
      [text your-subject]
      <label>Message:</label>
      [textarea* your-message x5]
      [submit class:btn class:btn-lg class:btn-color class:btn-button class:btn-submit "Send Message"]
      </div>
Edit Contact form settings
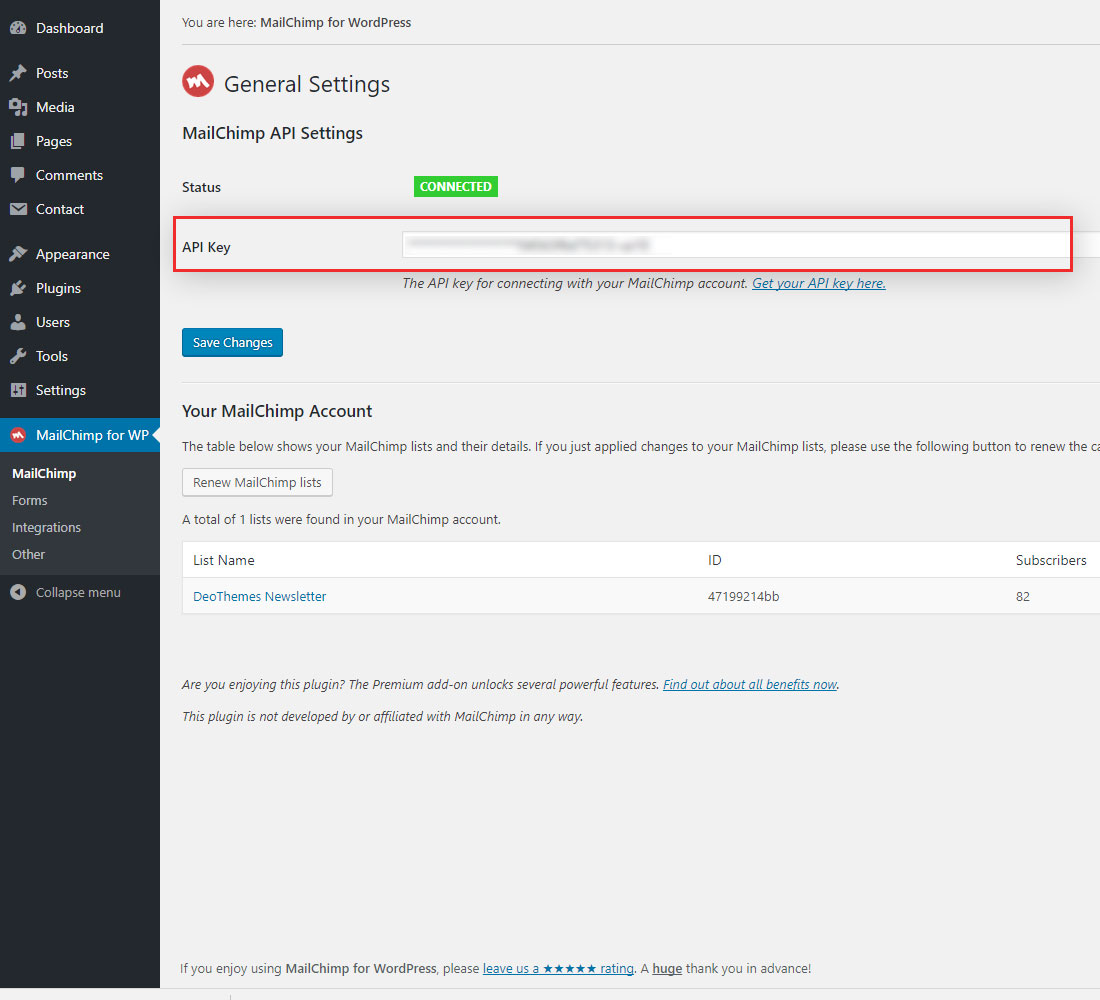
Mailchimp newsletter
First, make sure that you have installed MailChimp for WordPress plugin. After this go to MailChimp for WP and enter your API key from MailChimp, click on the Get Your API key link if you need to create new API key.
Theme Update
To update your theme, connect to your hosting via FTP and upload new files into your wp-content/themes/deoblog folder.
Credits
Support
If you have any question feel free to visit our Support Forum